
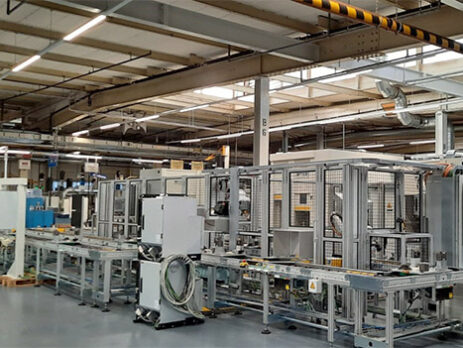
Work steps before laser welding
In the layout shown below, the workpieces enter the production line for laser welding via a complex system of conveyor technology. The workpieces are on workpiece carriers.
At the end of the conveyor system, the workpieces are removed individually by a robot and transferred to the laser cleaning station.
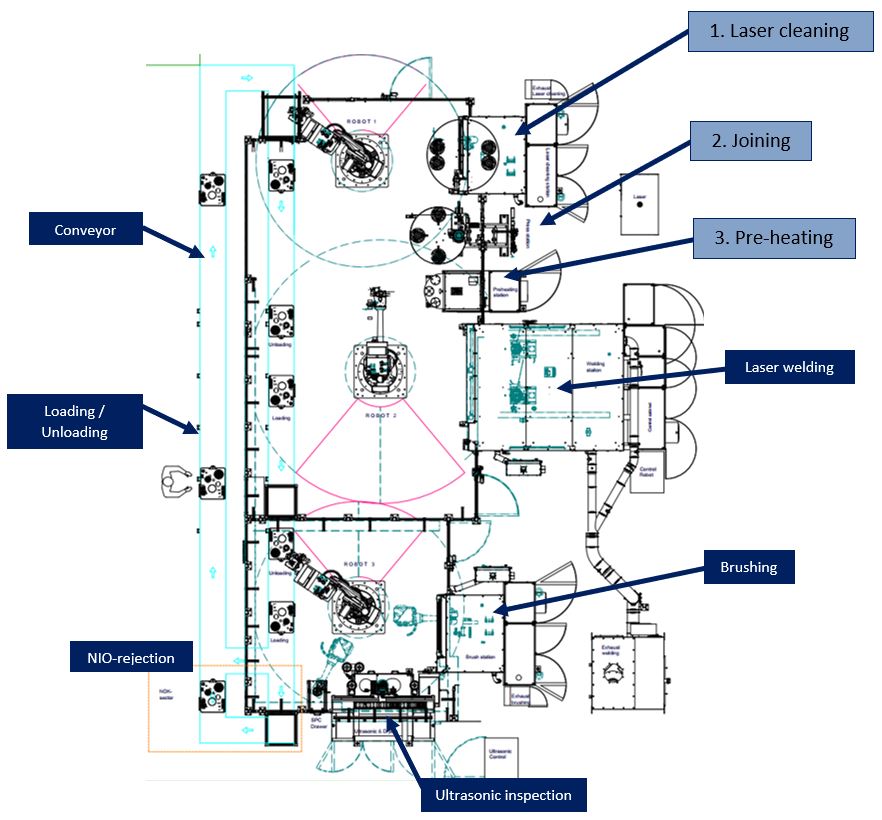
1. Laser cleaning
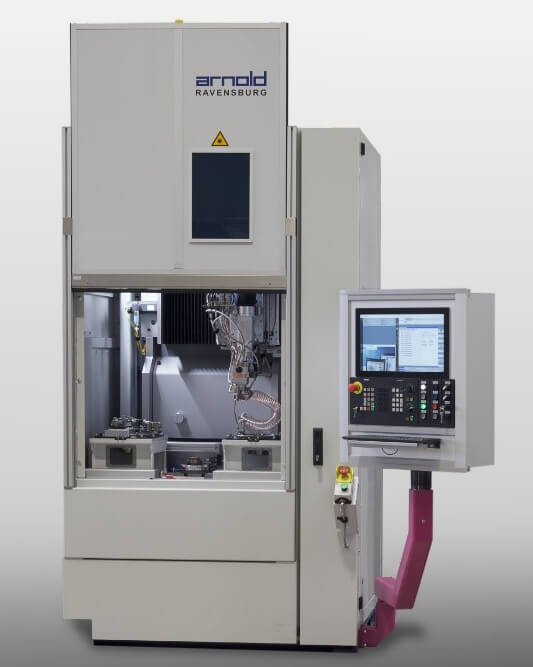
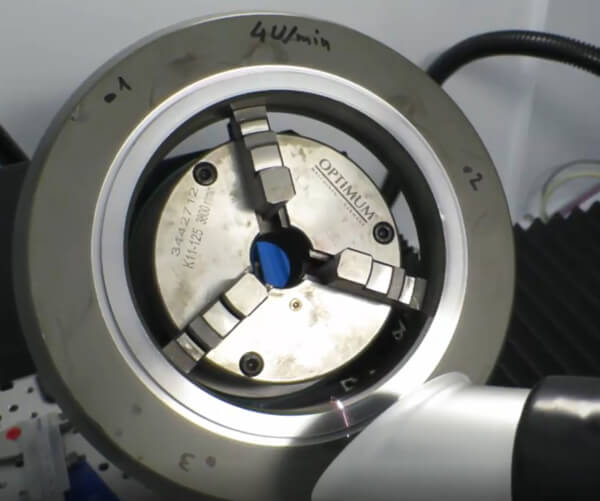
The first process after entering the production line is cleaning the joints. Although there are other methods, this has laser cleaning of the joining surfaces with a pulsed laser and a power of between 30 and 100 watts has been implemented in recent years. Laser cleaning removes any layers of phosphate and other contaminants from the joints. The surfaces of the housing and ring gear to be cleaned are touched with a scanner and a pulsed laser beam, both components rotate around the local laser beam.
2. Joining
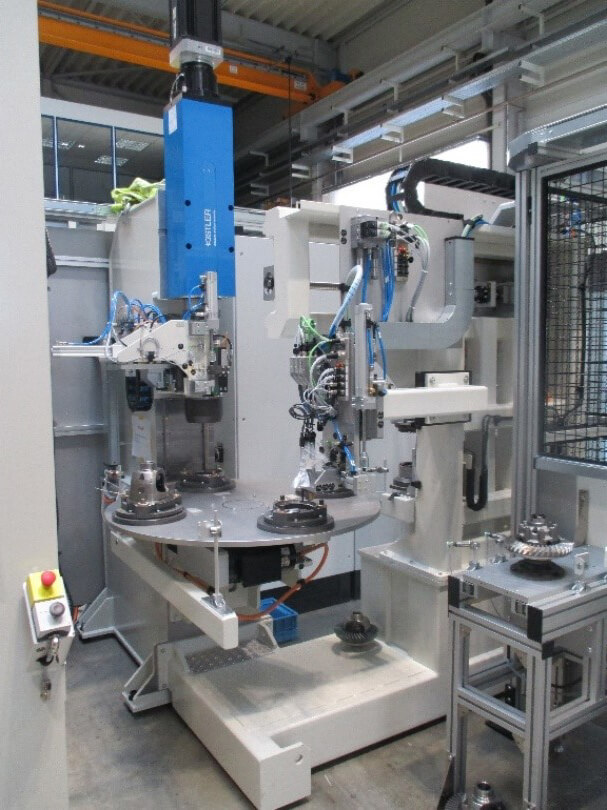
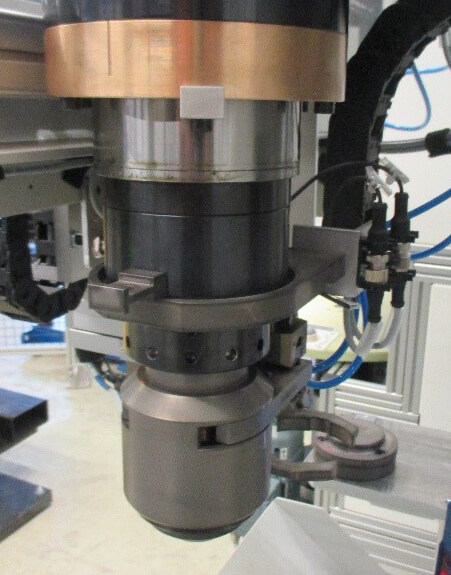
After cleaning, the ring gear and the housing are individually placed in the robot with the joining press transported and pressed together there with a pressing force of usually up to 10 tons. At one of our customers, a ring was also installed in the joint to replace welding with filler wire with an alloy ring. Force and displacement monitoring and workpiece detection with a camera are part of the basic equipment of our presses.
3. Warm up
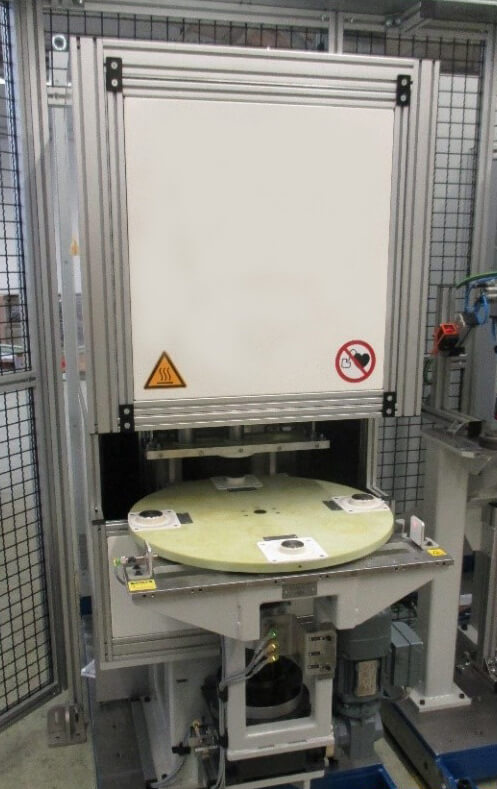
The last process before welding is heating the differentials in the warming station. With some material combinations, it is advisable to inductively heat the workpieces before welding in order to avoid dangerous cracks. In the systems we supplied, however, the materials were in most cases uncritical for welding and a heating station was not required.
